Sweets for the sweet
Don’t you just love that early morning thought process?!
“What I really want is a whole family of Treat Trolleys to accommodate all needs.” But… we don’t have any bookings, nor any requests for one, and nowhere to store them all! It’s enough with the Tiny Trolley of Treats that we already have.
Anyway; my train of thought! I decided that I would compromise with myself and create a set-up that is multifunctional and one size fits all.
The challenge? To spend no money!
Current product availability:
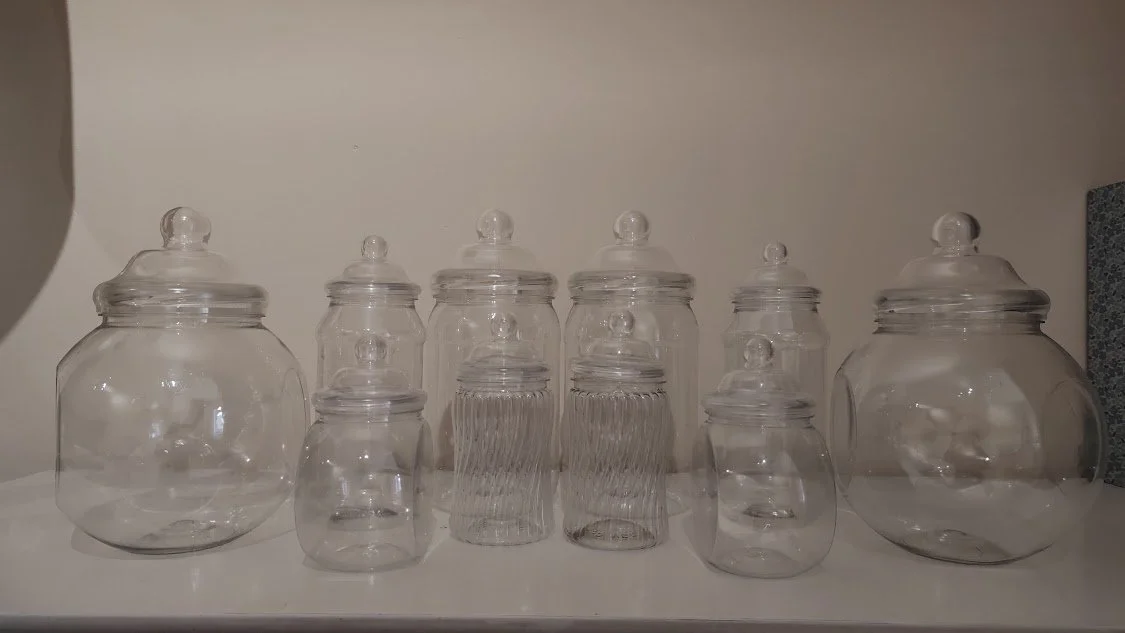
A full set of plastic reusable jars
Scoops and tongs
Paper bags of mixed designs
Tiny Trolley of Treats
Resources/spare bits
Wood cut-offs from Beanbag Toss
Chunky dowels leftover from…I’m actually not sure what - they were just there with all the other bits!
Some cabinet knobs from an old chest of drawers
Hooks and eyes lurking in the bottom of a box
Wood stain and bathroom paint from our home renovation last year
Challenge Accepted! Make a Sweet Store sign with us!
Phase 1: Wood Cutting
With our excess bits of wood I did most of my measurements by eye as to what I thought looked good. So we ended up with…
400mmx15mm knotty pine for the sign itself
450mm high chunky dowels for the sign posts
Cabinet knobs for the top of the posts
85mmx85mm knotty pine for post feet


Phase 2: The Paint Job
We did this project alongside the Beanbag Toss upgrade, so therefore painted all of the wood together in the same colour, which pulls together a cohesive set of products.
After leaving it a few days to dry out, I then set about the decorating of the sign itself. This was the most time consuming part.
Tapping into an old-school tracing technique, we used our brand font for the ‘Sweet Store’ lettering. Once I’d painted it on, I loved it but felt it needed a little extra something.


Playing on Canva, I practiced a number of designs, also utilising elements from our brand posts. Who doesn’t love Canva?! I made my choice and spent the longest time stencilling, and masking, prior to painting.

Phase 3: Putting It Altogether
We used hooks and eyes to put the sign together as I wanted it to be ‘collapsible’ and easy to transport, but also easy to set up. Then we set it up for promotional photos. Overall I am really happy with how it has turned out!

So guess what….?
In setting up for the above picture, and wanting to reshoot the Tiny Trolley, we decided that needed an upgrade to match our Garden Games and the Sweet Store. So on a hot sunny afternoon that we had planned as being our first ‘content day’, we dismantled the trolley and gave it a makeover!
With all the supplies from the two previous projects, we were all set.


I even managed to use the sign as it fits perfectly. Now we have a completely interchangeable and co-ordinating Sweet Hire set.
It’s so cute, I love it!
So if you love it too, and you’re local to Hampshire, England, then check out our packages here.